Kitchen Cabinet Paint Sealer
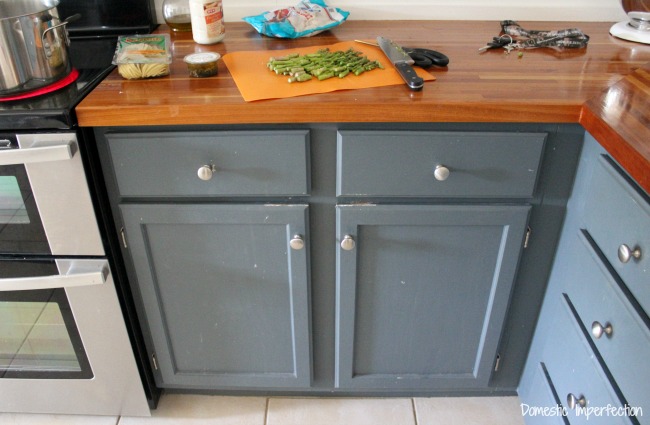
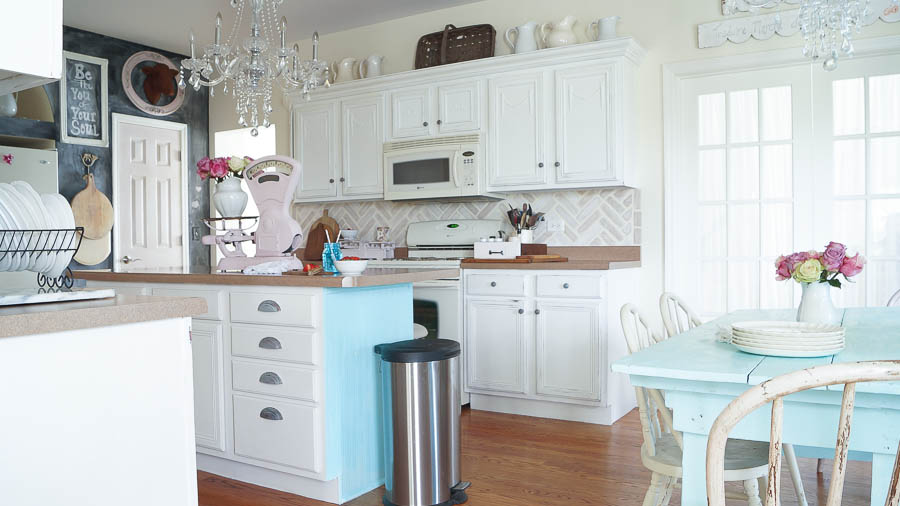
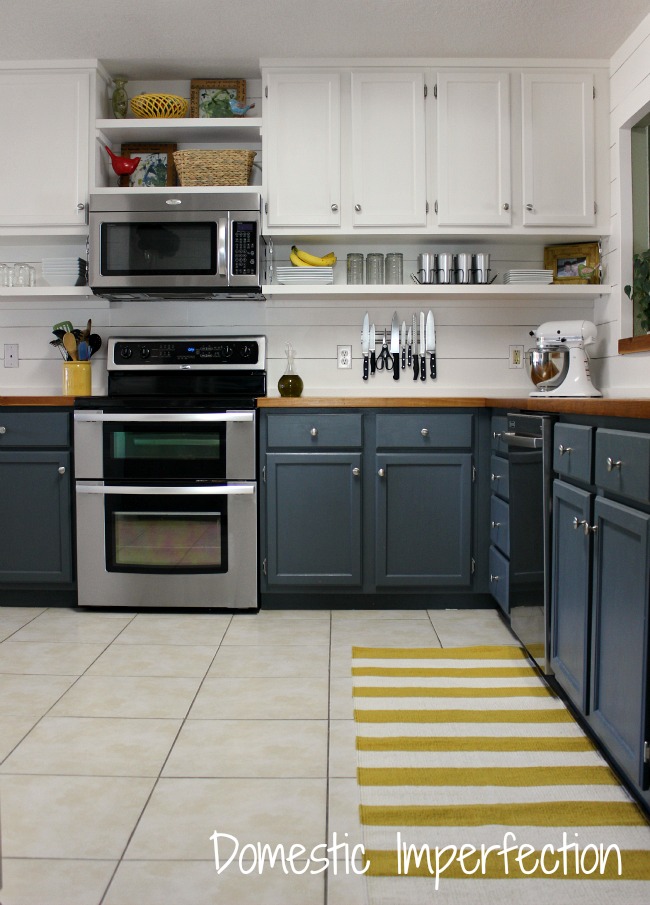
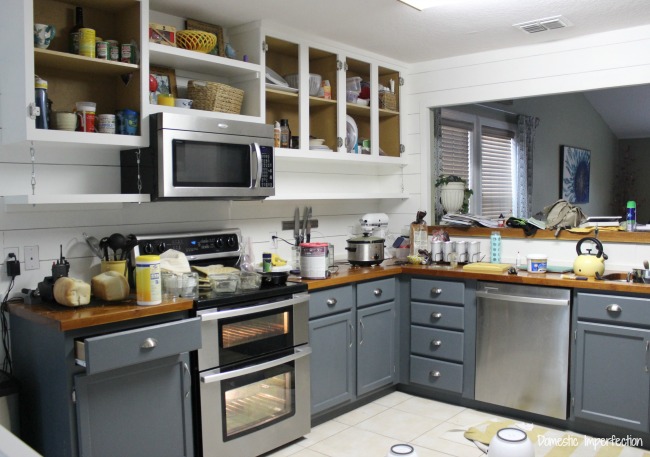
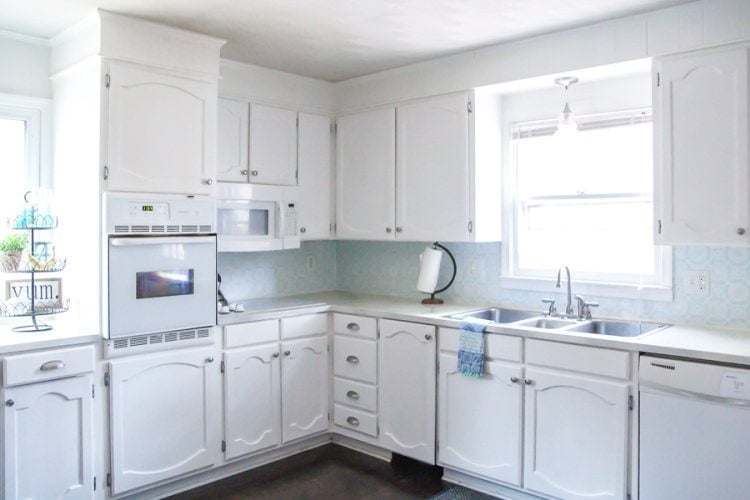
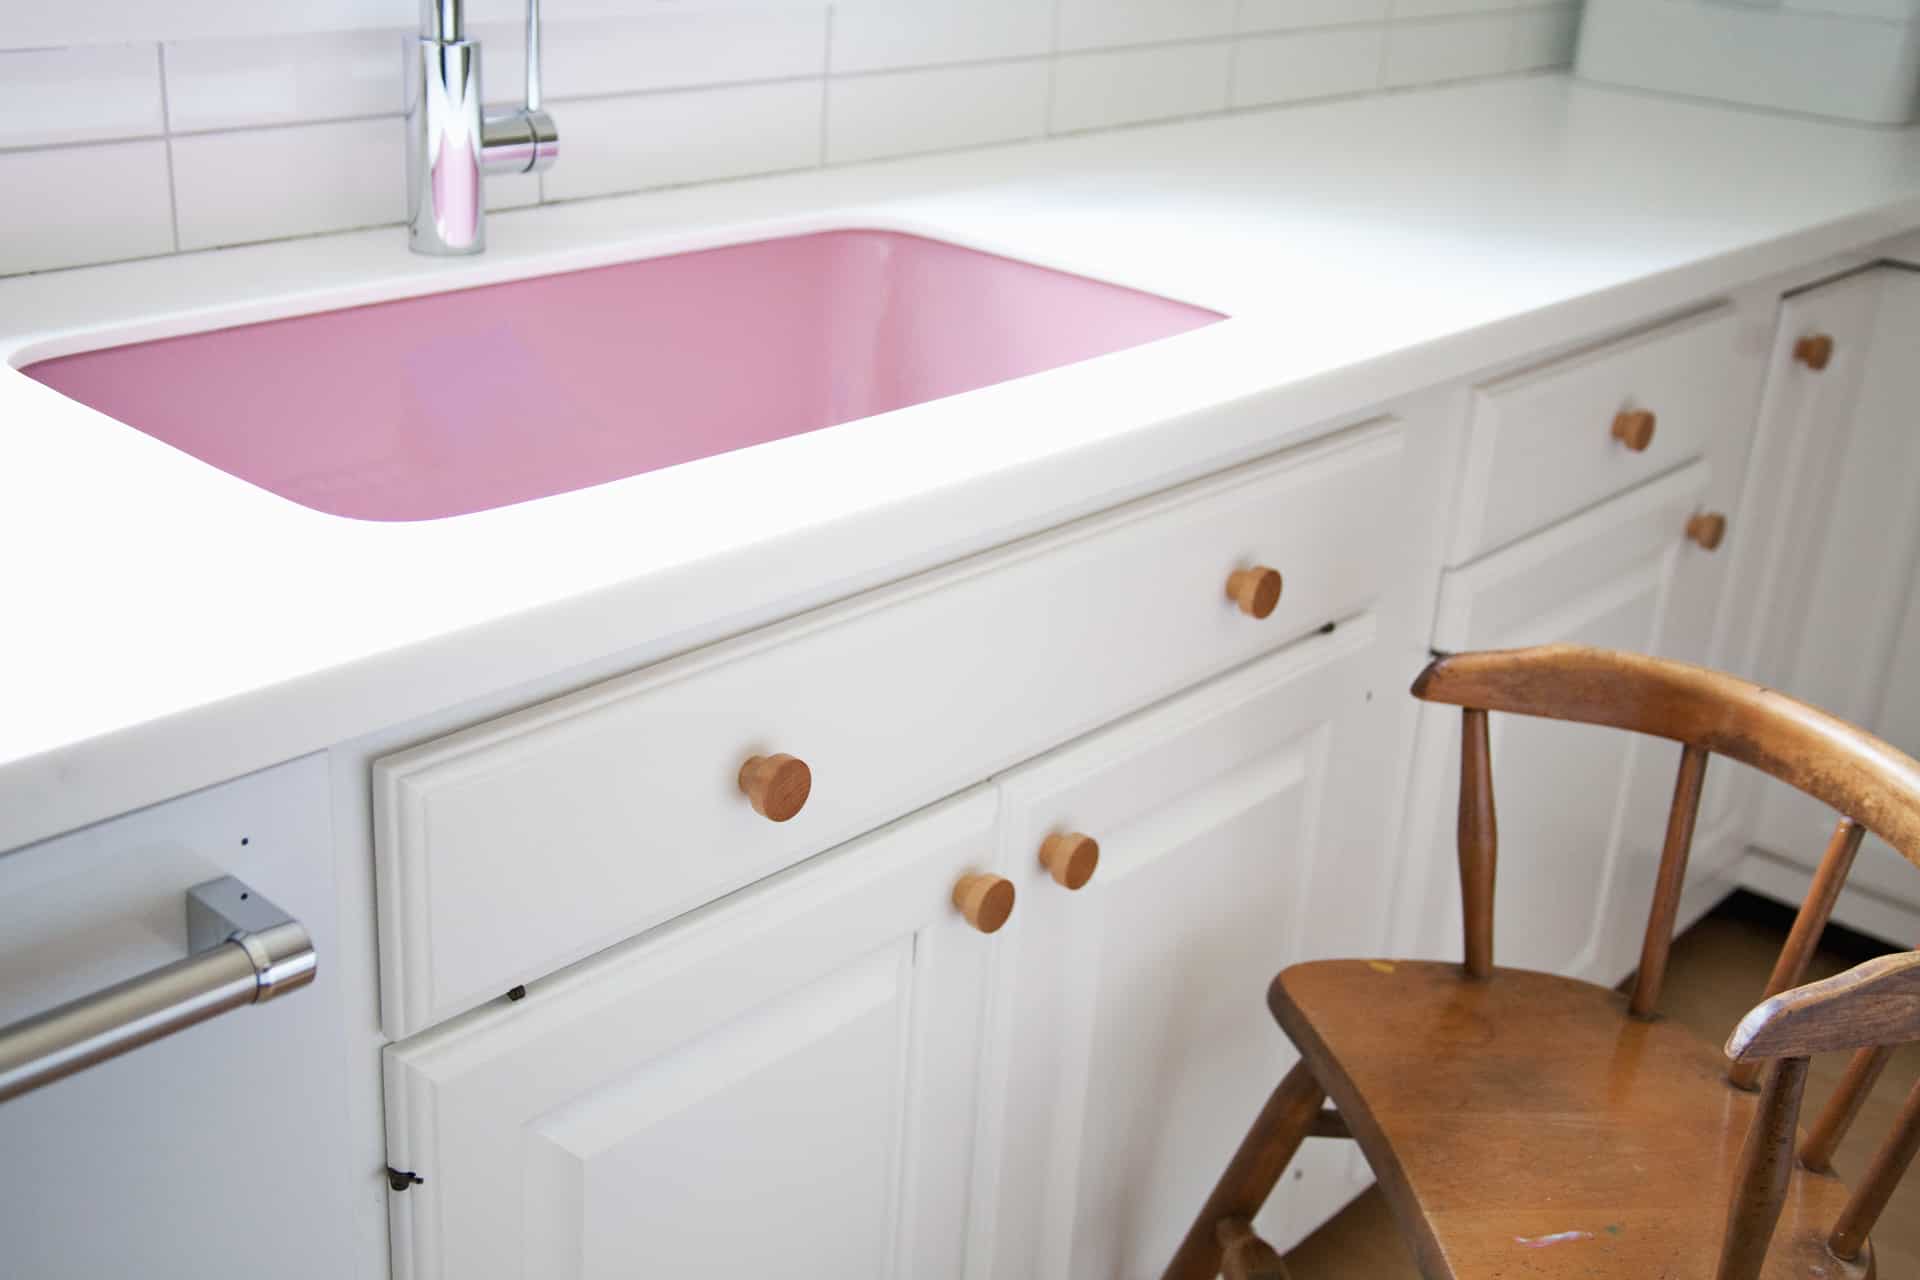
My Painted Kitchen Cabinets Five Years Later Domestic Imperfection

Painting Your Kitchen Cabinets What I Would Do Differently 2 Little Supeheroes
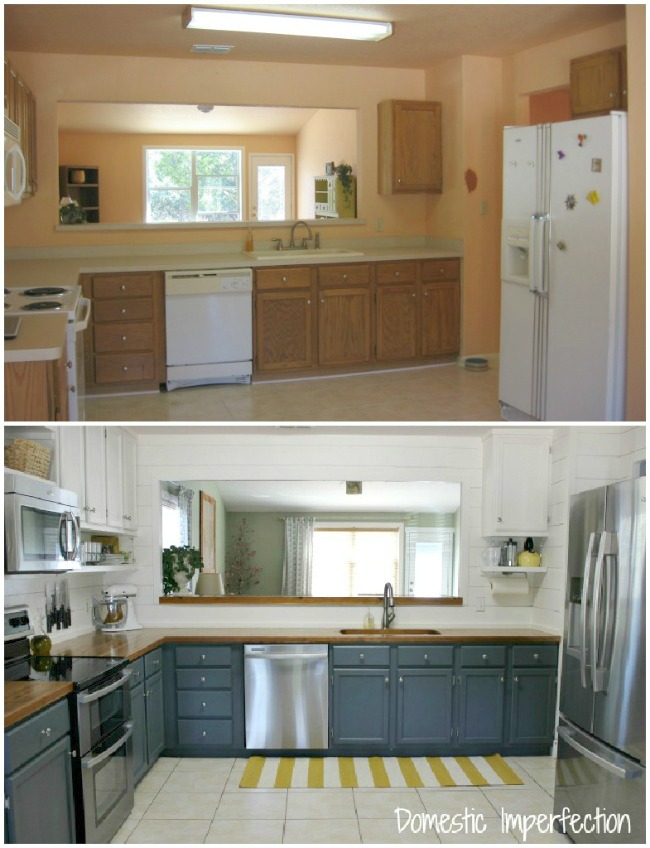
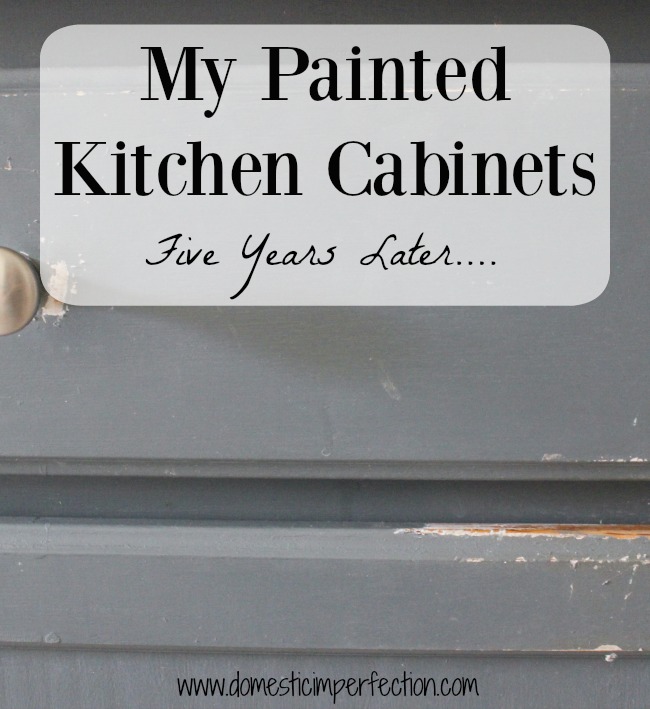
My Painted Kitchen Cabinets Five Years Later Domestic Imperfection
It is quite similar to the oil based paint but it s a hybrid as it has both oil and latex features.
Kitchen cabinet paint sealer. Superpaint is sold as an all in one paint and primer but for kitchen cabinets an oil based primer is still necessary before applying the paint. Take a break and take care of things you ve been neglecting for the past two days while your paint dries. And available over most of the country.
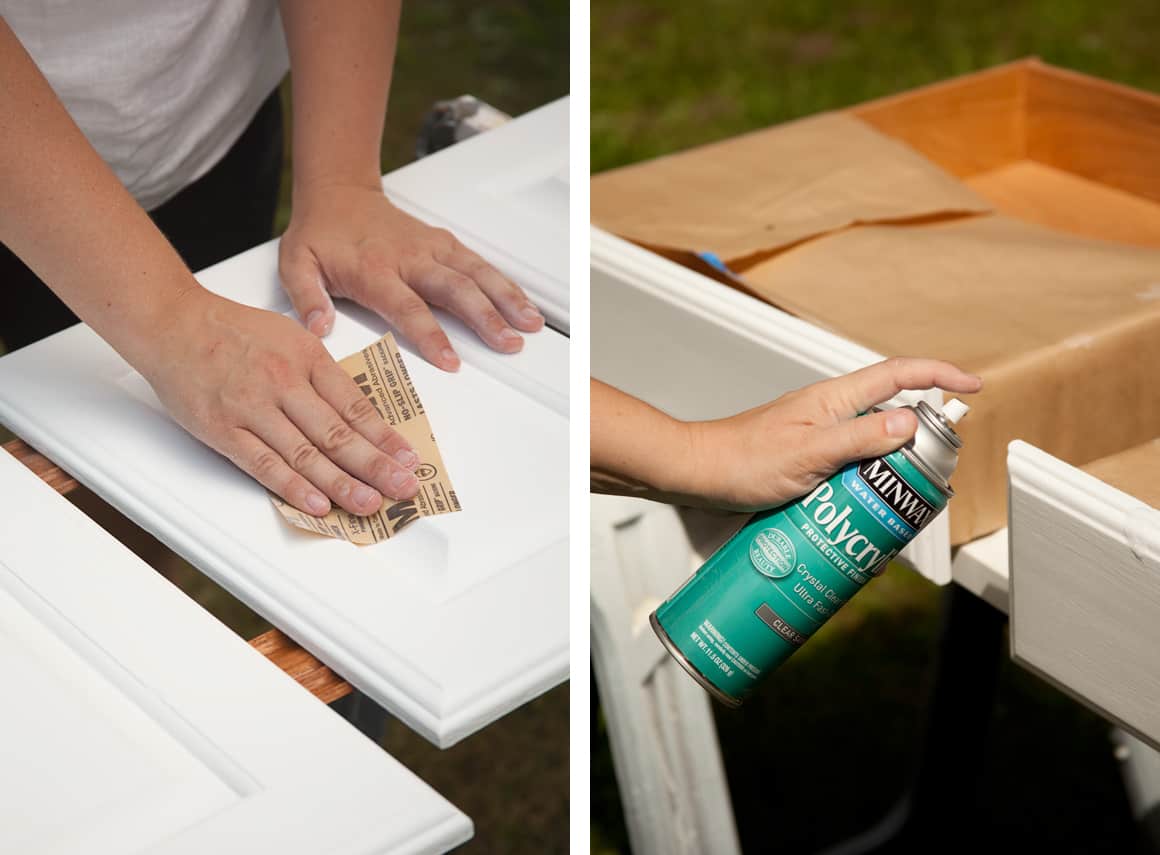
Oil is the miracle ingredient in paints. After your project is dry for 3 5 days apply 1 2 thin coats of beyond paint multi purpose sealer. When you apply polyurethane varnish you re actually sealing it in plastic.
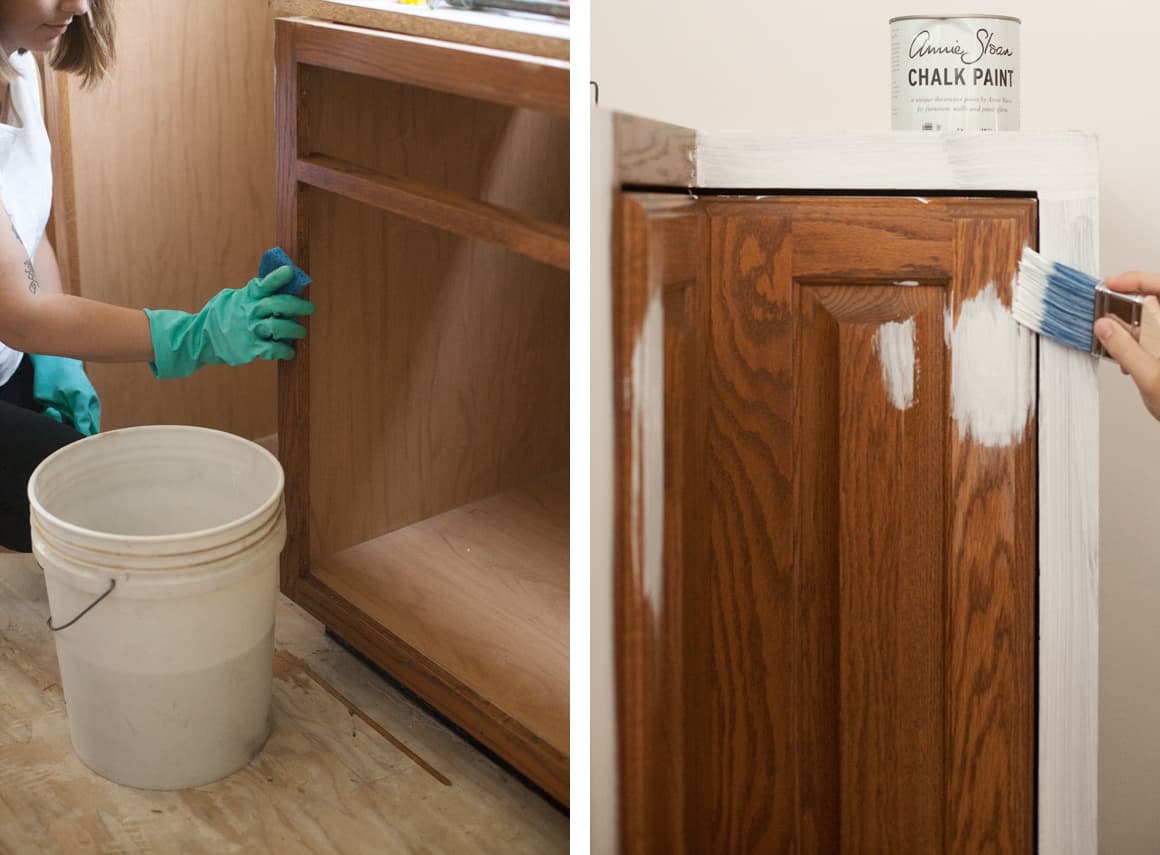
So wether you use wax or poly or another type of sealer i completely and totally recommend using chalk paint to refinish your kitchen cabinets. Step 3 in distressing and antiquing kitchen cabinets is to sand them well. Paint the cabinet boxes next with their second coat of paint.
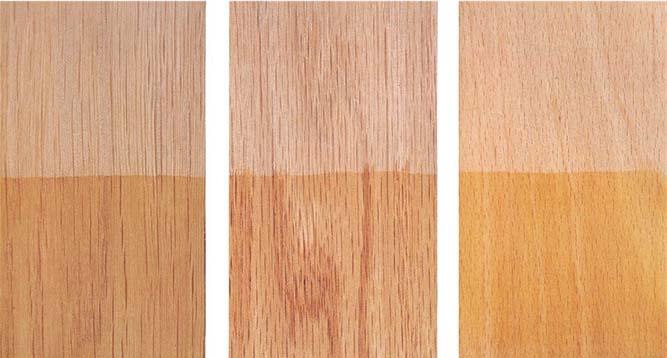
Poplar tends to be more colorful and requires more sealer or more paint that soft maple but the additional sealer produces a better finish. A polyurethane varnish finish can cut down on the wear and tear of kitchen cabinets help keep them looking new and extend the life of the cabinets. Polyurethane works best on unfinished wood but can also be painted directly onto painted surfaces.
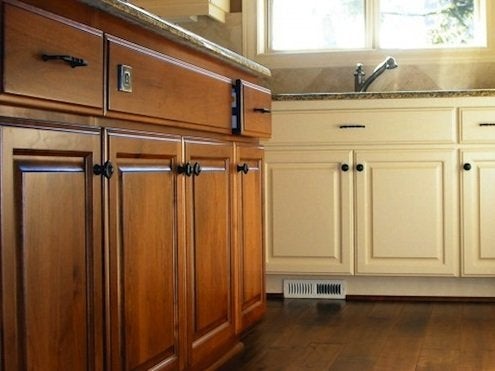
Either poplar or soft maple is a wood of choice by custom cabinet shops for their paint grade cabinet door jobs. Valspar cabinet enamel is a latex paint. Or take your kids to the.
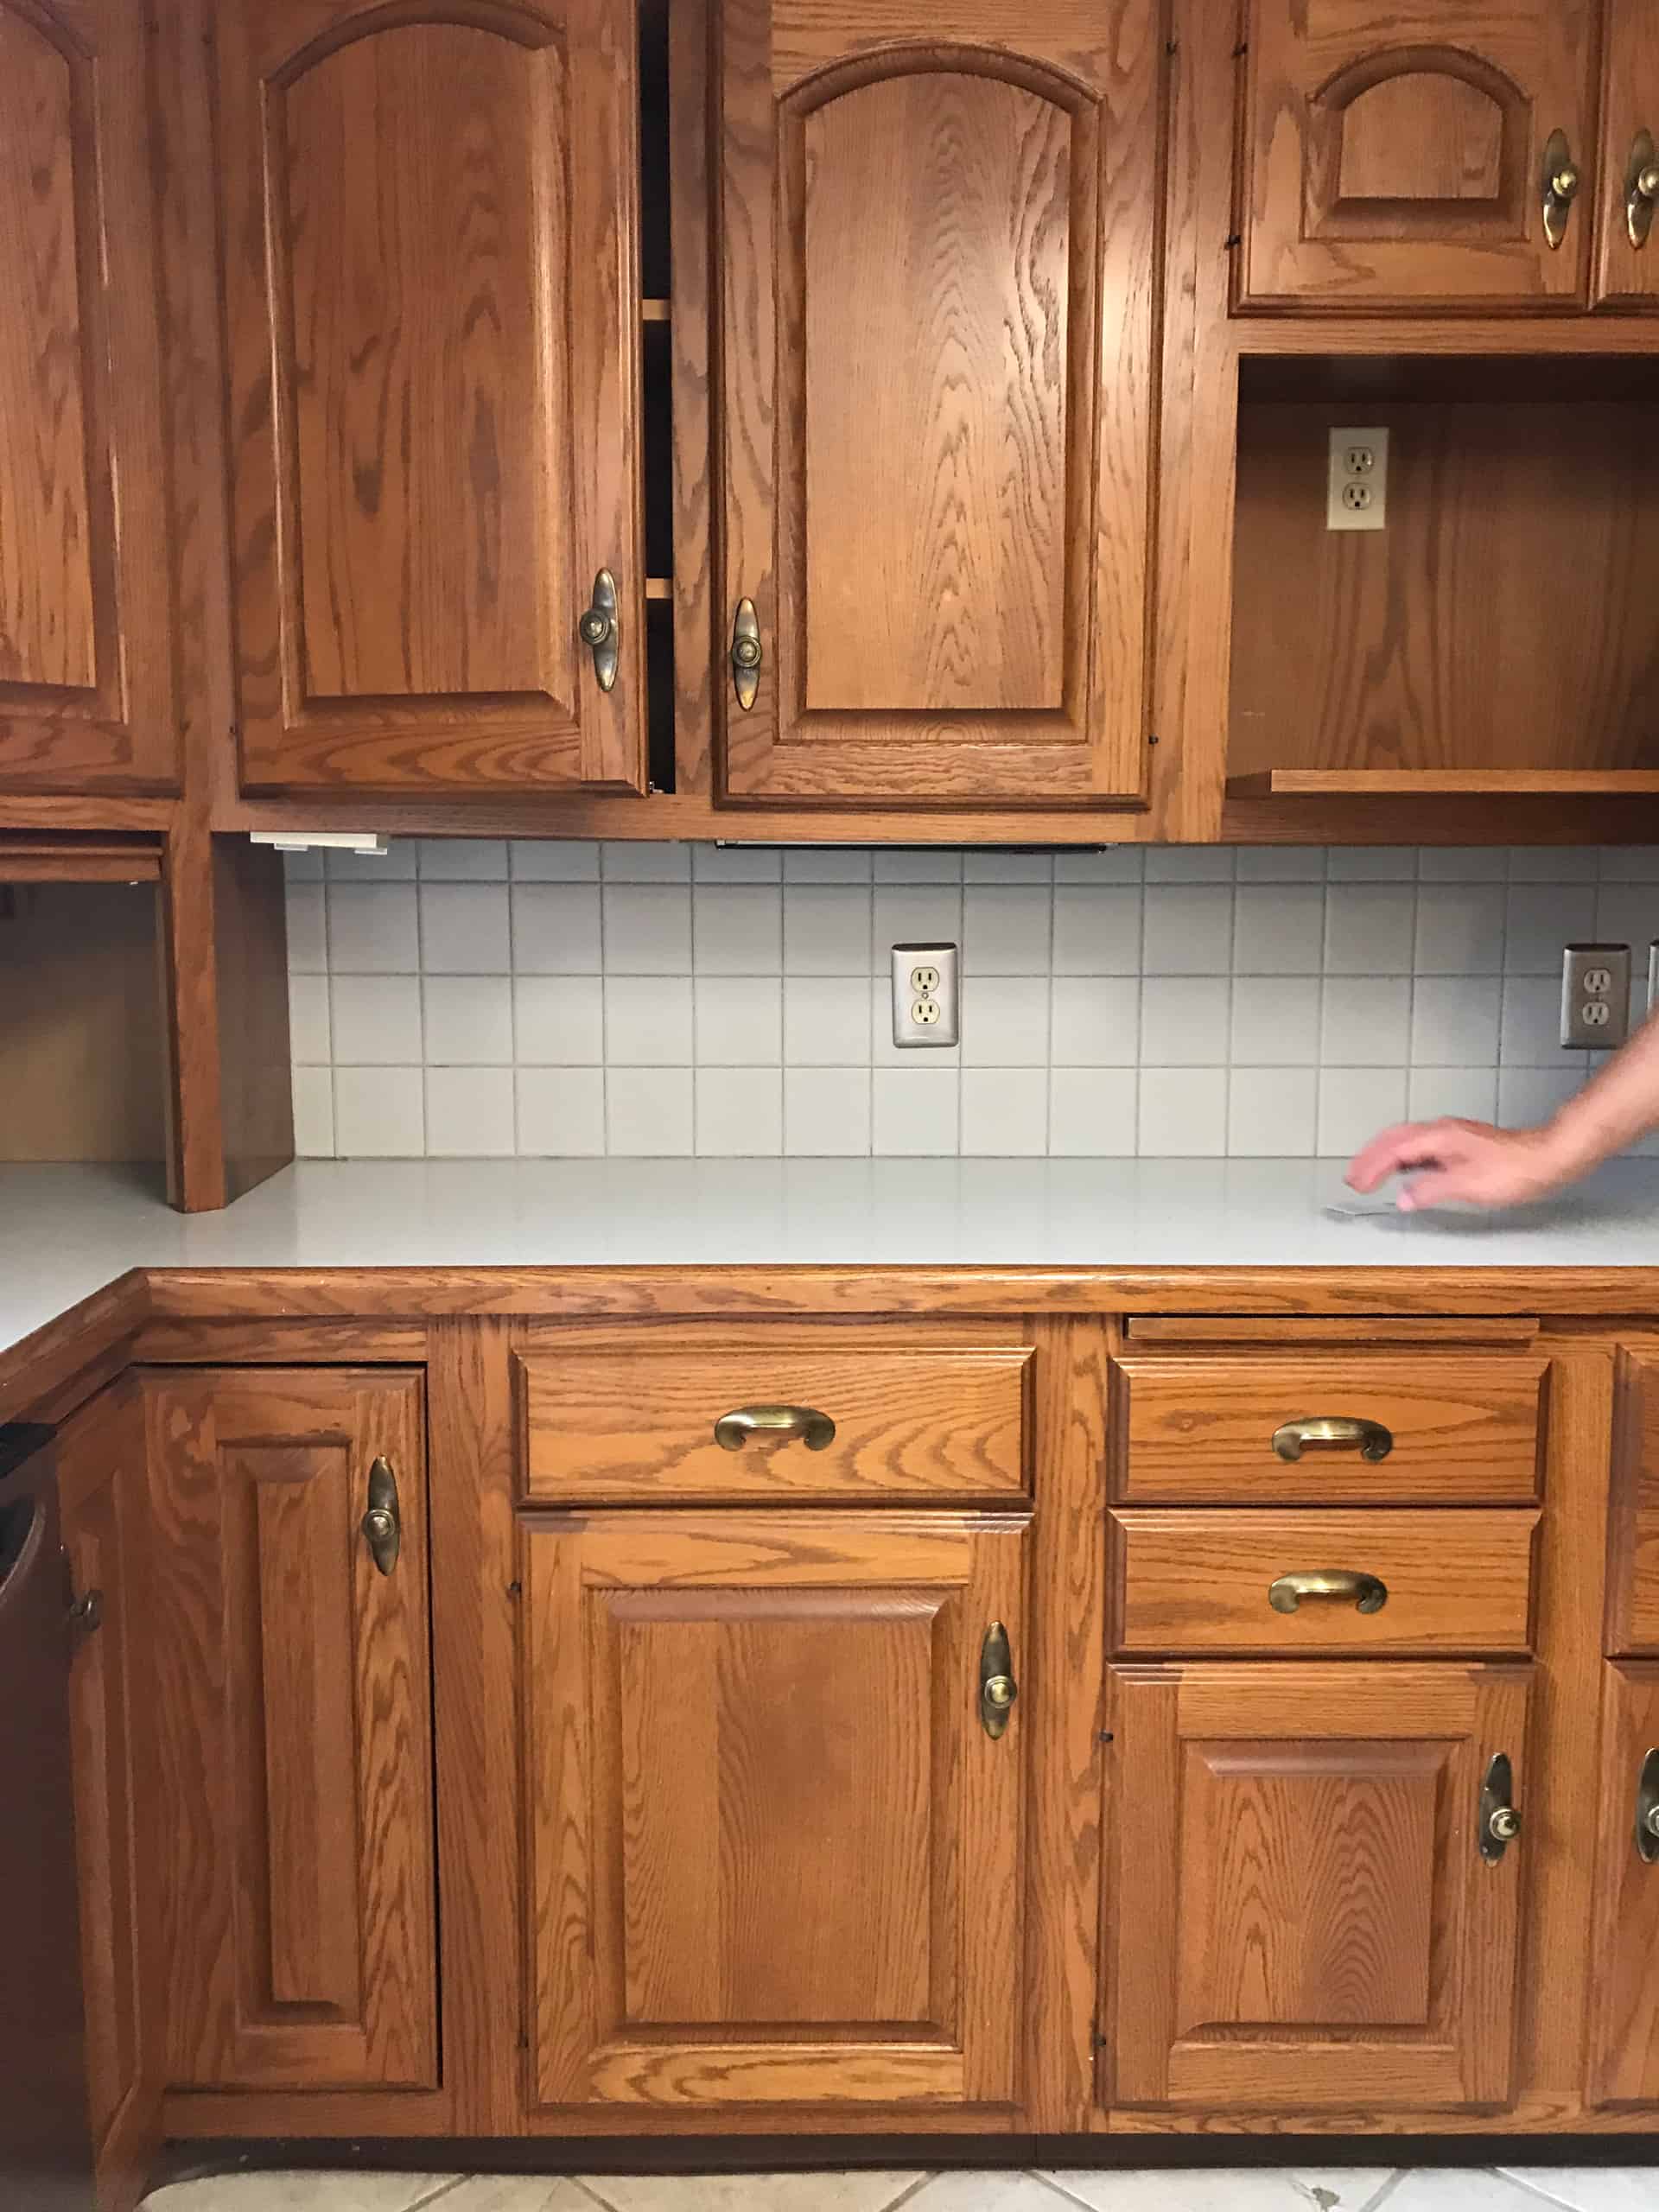
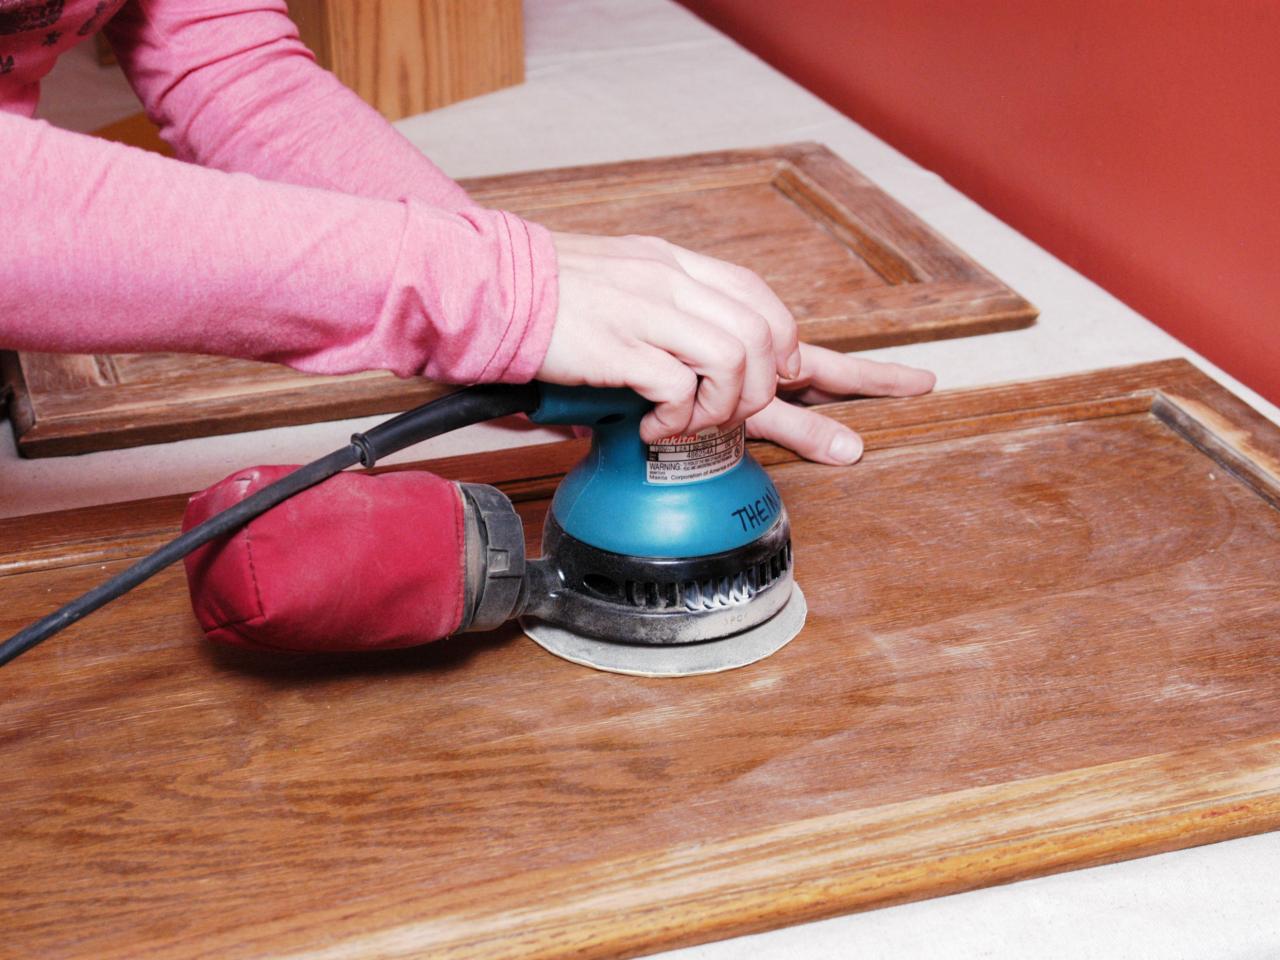
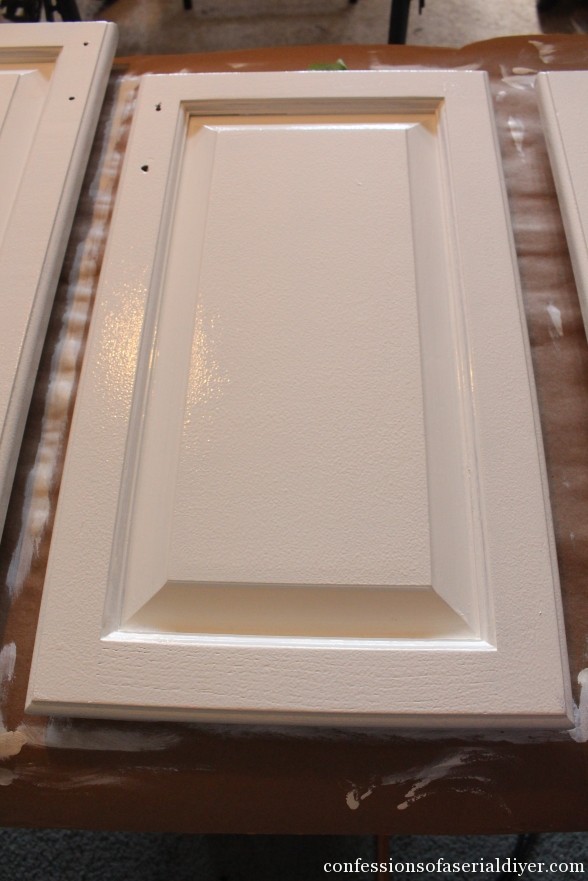
Painting kitchen cabinets can be a difficult job since there are almost as many different types of cabinet as there are types of paint. Lightly sand the doors on all sides and faces image 1. This will give added durability and weather resistance to any project.
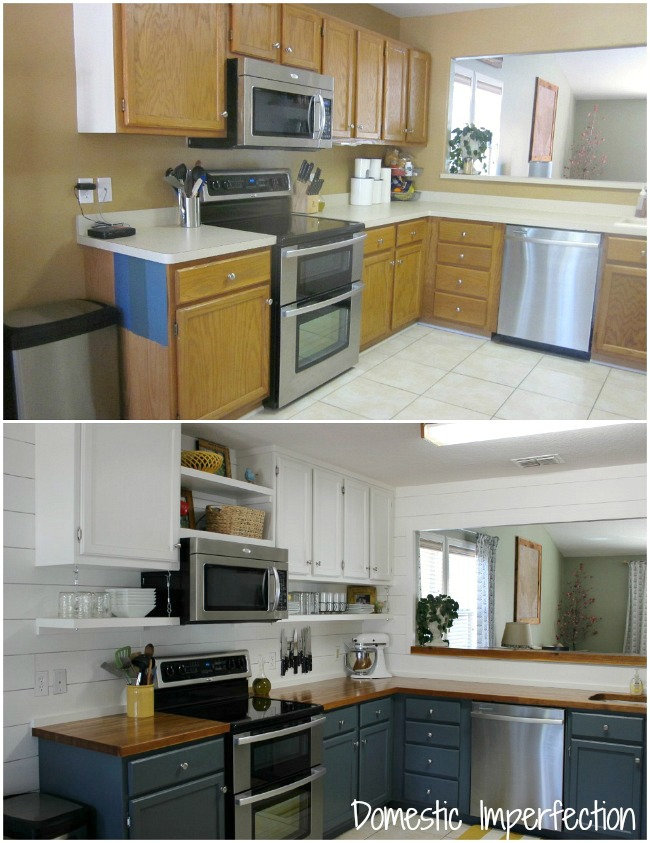
Both are low cost. I recommend using problock oil primer or kilz followed by two coats of superpaint using a 2 brush to cut in the edges and a foam roller to achieve a stipple free finish on the cabinet doors. The painting was the simplest part in this whole project and it was super cheap with me using the diy recipe.
Using a sanding block wrapped in 80 grit sandpaper sand the raised edges and corners of each cabinet door and opening. Paint grade soft maple wood. Remove tape while your surfaces are still wet.
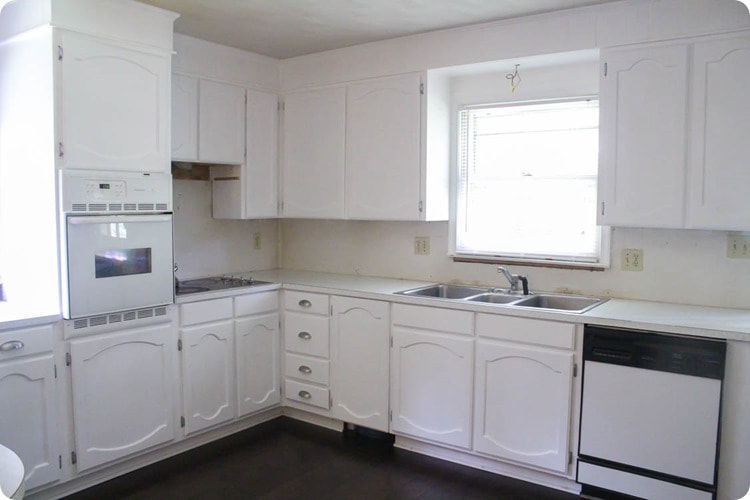
This is when everything starts to look really great. Sand until the wood under the paint is fully exposed. If your repainting project is just a facelift for the cabinets you don t need to sand and paint the inside of the cabinets.
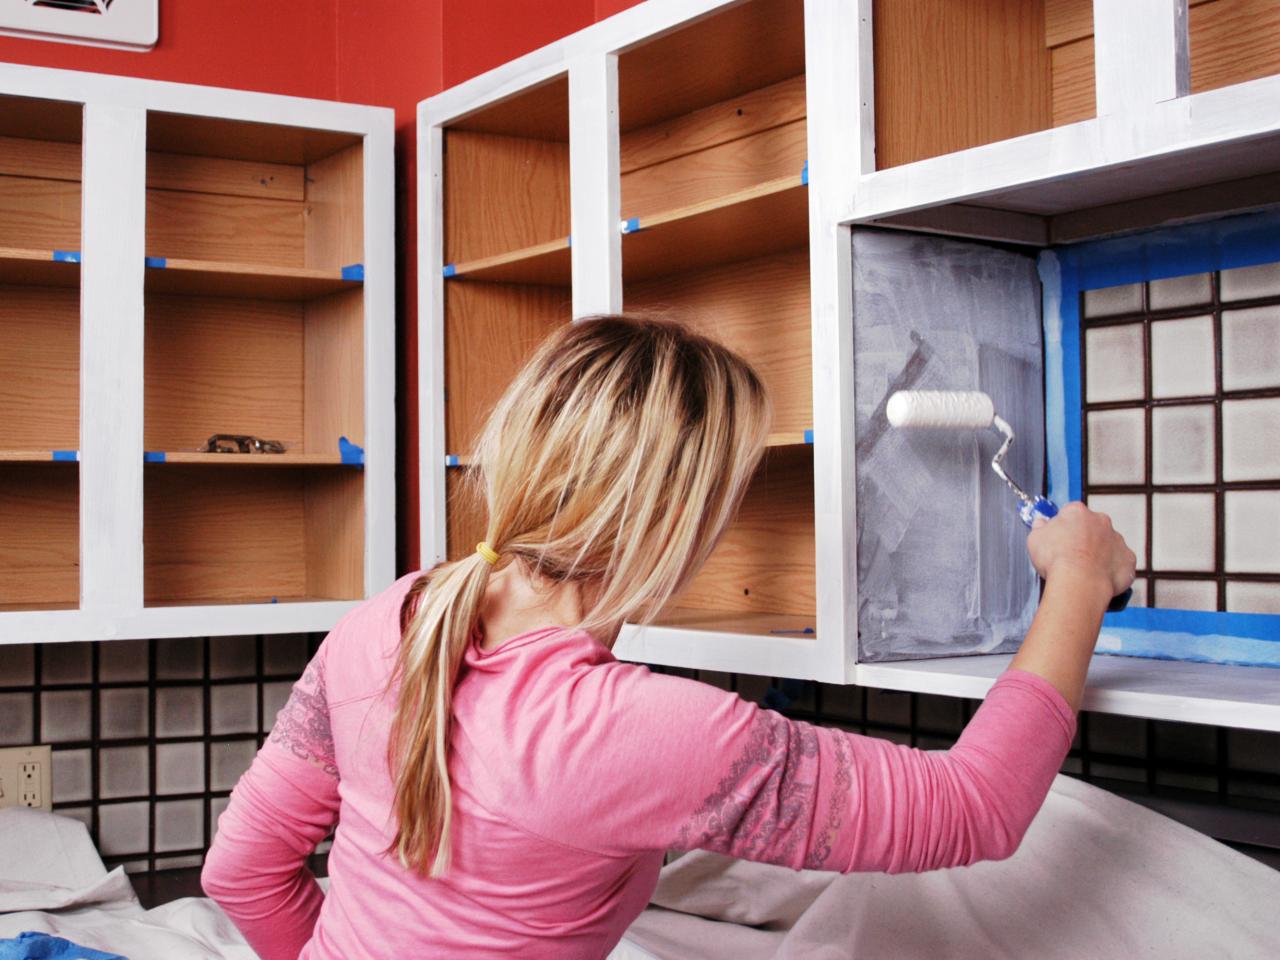
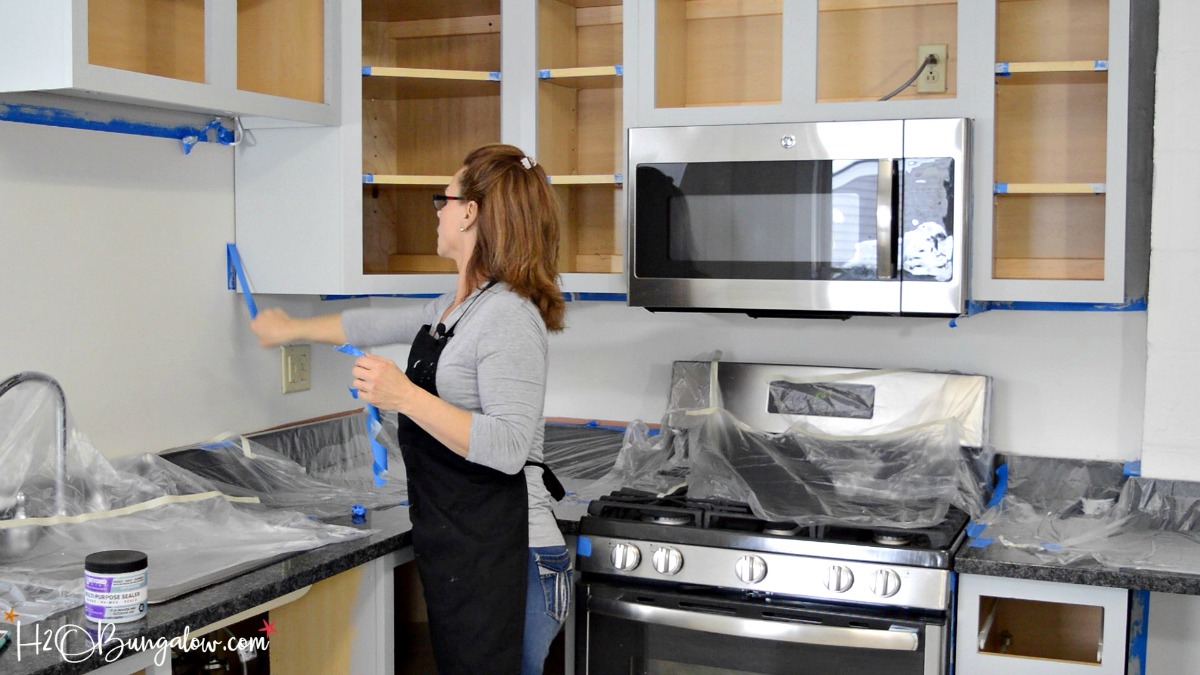
It has been the reason why some cabinets tend to have streak free and smooth surfaces. If they aren t compatible with one another either due to the materials or just how they re designed you could end up with a ruined cabinet or a lot of hazardous volatile chemicals and fumes in the air. Mask off the interiors with painters tape for a clean finish and sand only the front surfaces and visible edges of the cabinet face.

Painted Furniture Ideas 5 Mistakes People Make When Painting Kitchen Cabinets Painted Furniture Ideas
My Painted Kitchen Cabinets Five Years Later Domestic Imperfection
My Painted Kitchen Cabinets Five Years Later Domestic Imperfection

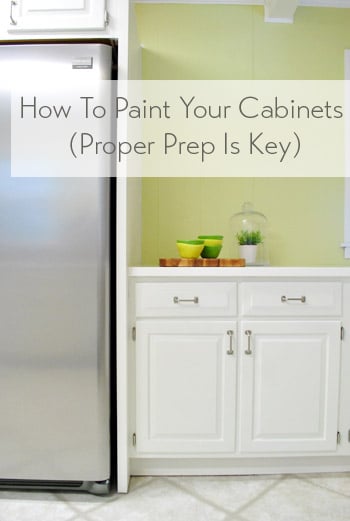
How To Paint Kitchen Cabinets

My Painted Kitchen Cabinets Five Years Later Domestic Imperfection
How To Paint Kitchen Cabinets Step By Step With Video
My Painted Kitchen Cabinets Five Years Later Domestic Imperfection

Best Clear Coats For Kitchen Cabinets 2020 Reviews And Buyer S Guide

Painting Your Kitchen Cabinets What I Would Do Differently 2 Little Supeheroes
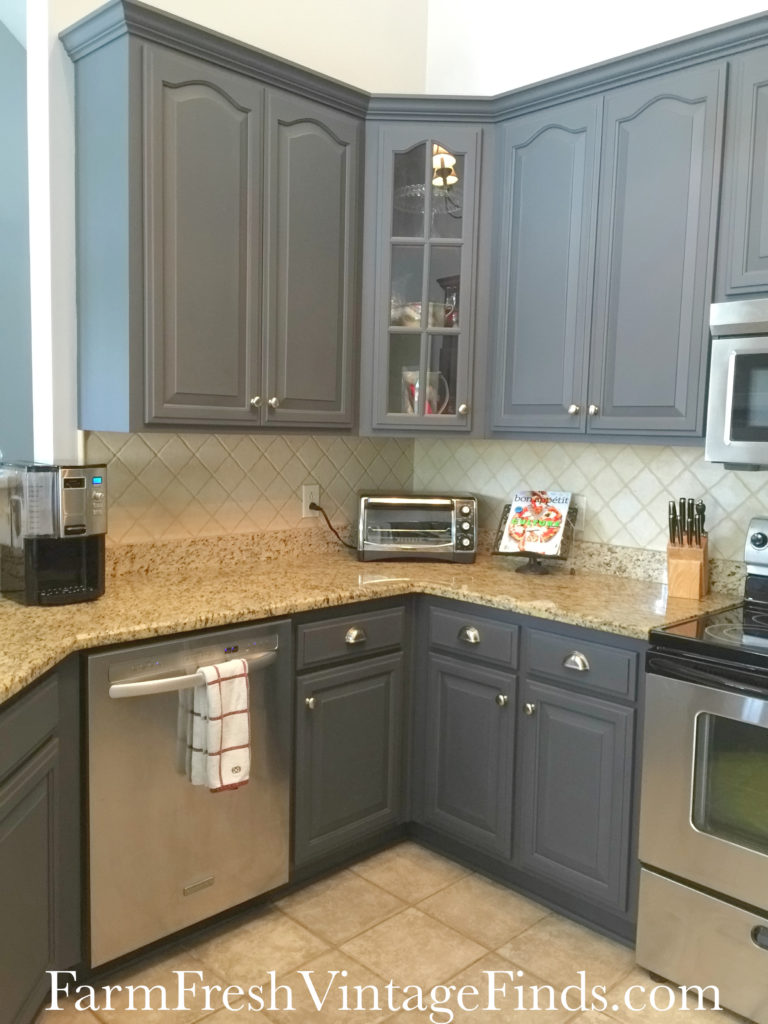
Painting Kitchen Cabinets With General Finishes Milk Paint Farm Fresh Vintage Finds
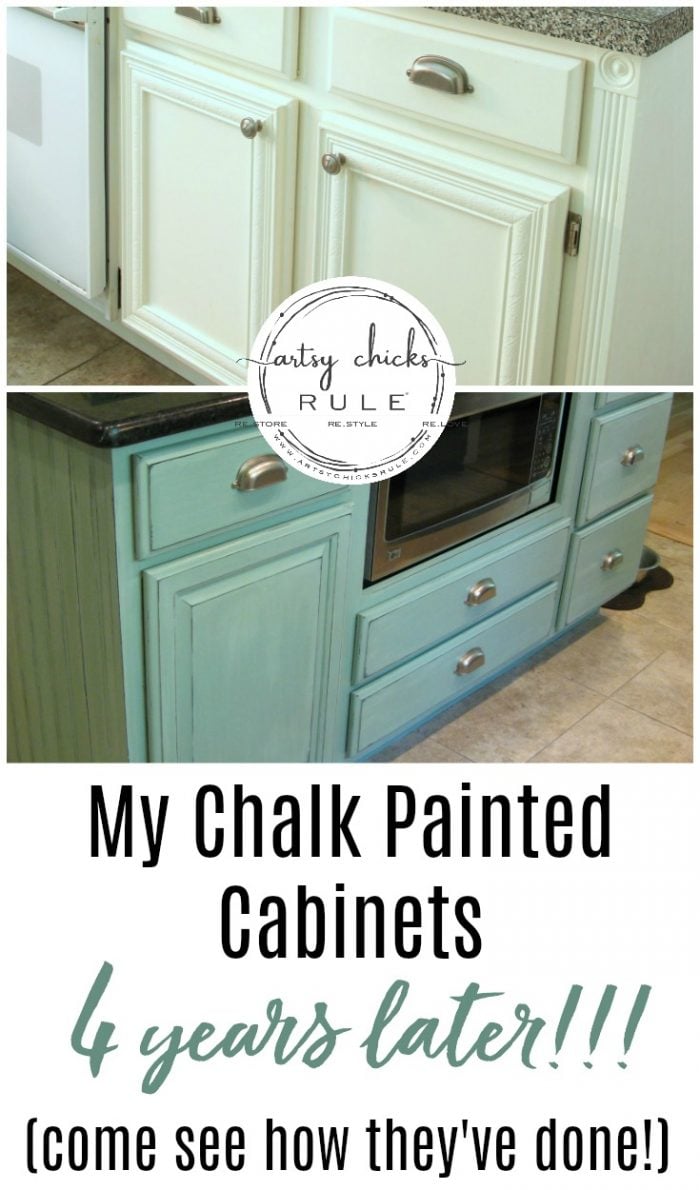
My Chalk Painted Cabinets 4 Years Later How Did They Do Artsy Chicks Rule

Why I Repainted My Chalk Painted Cabinets Sincerely Sara D Home Decor Diy Projects
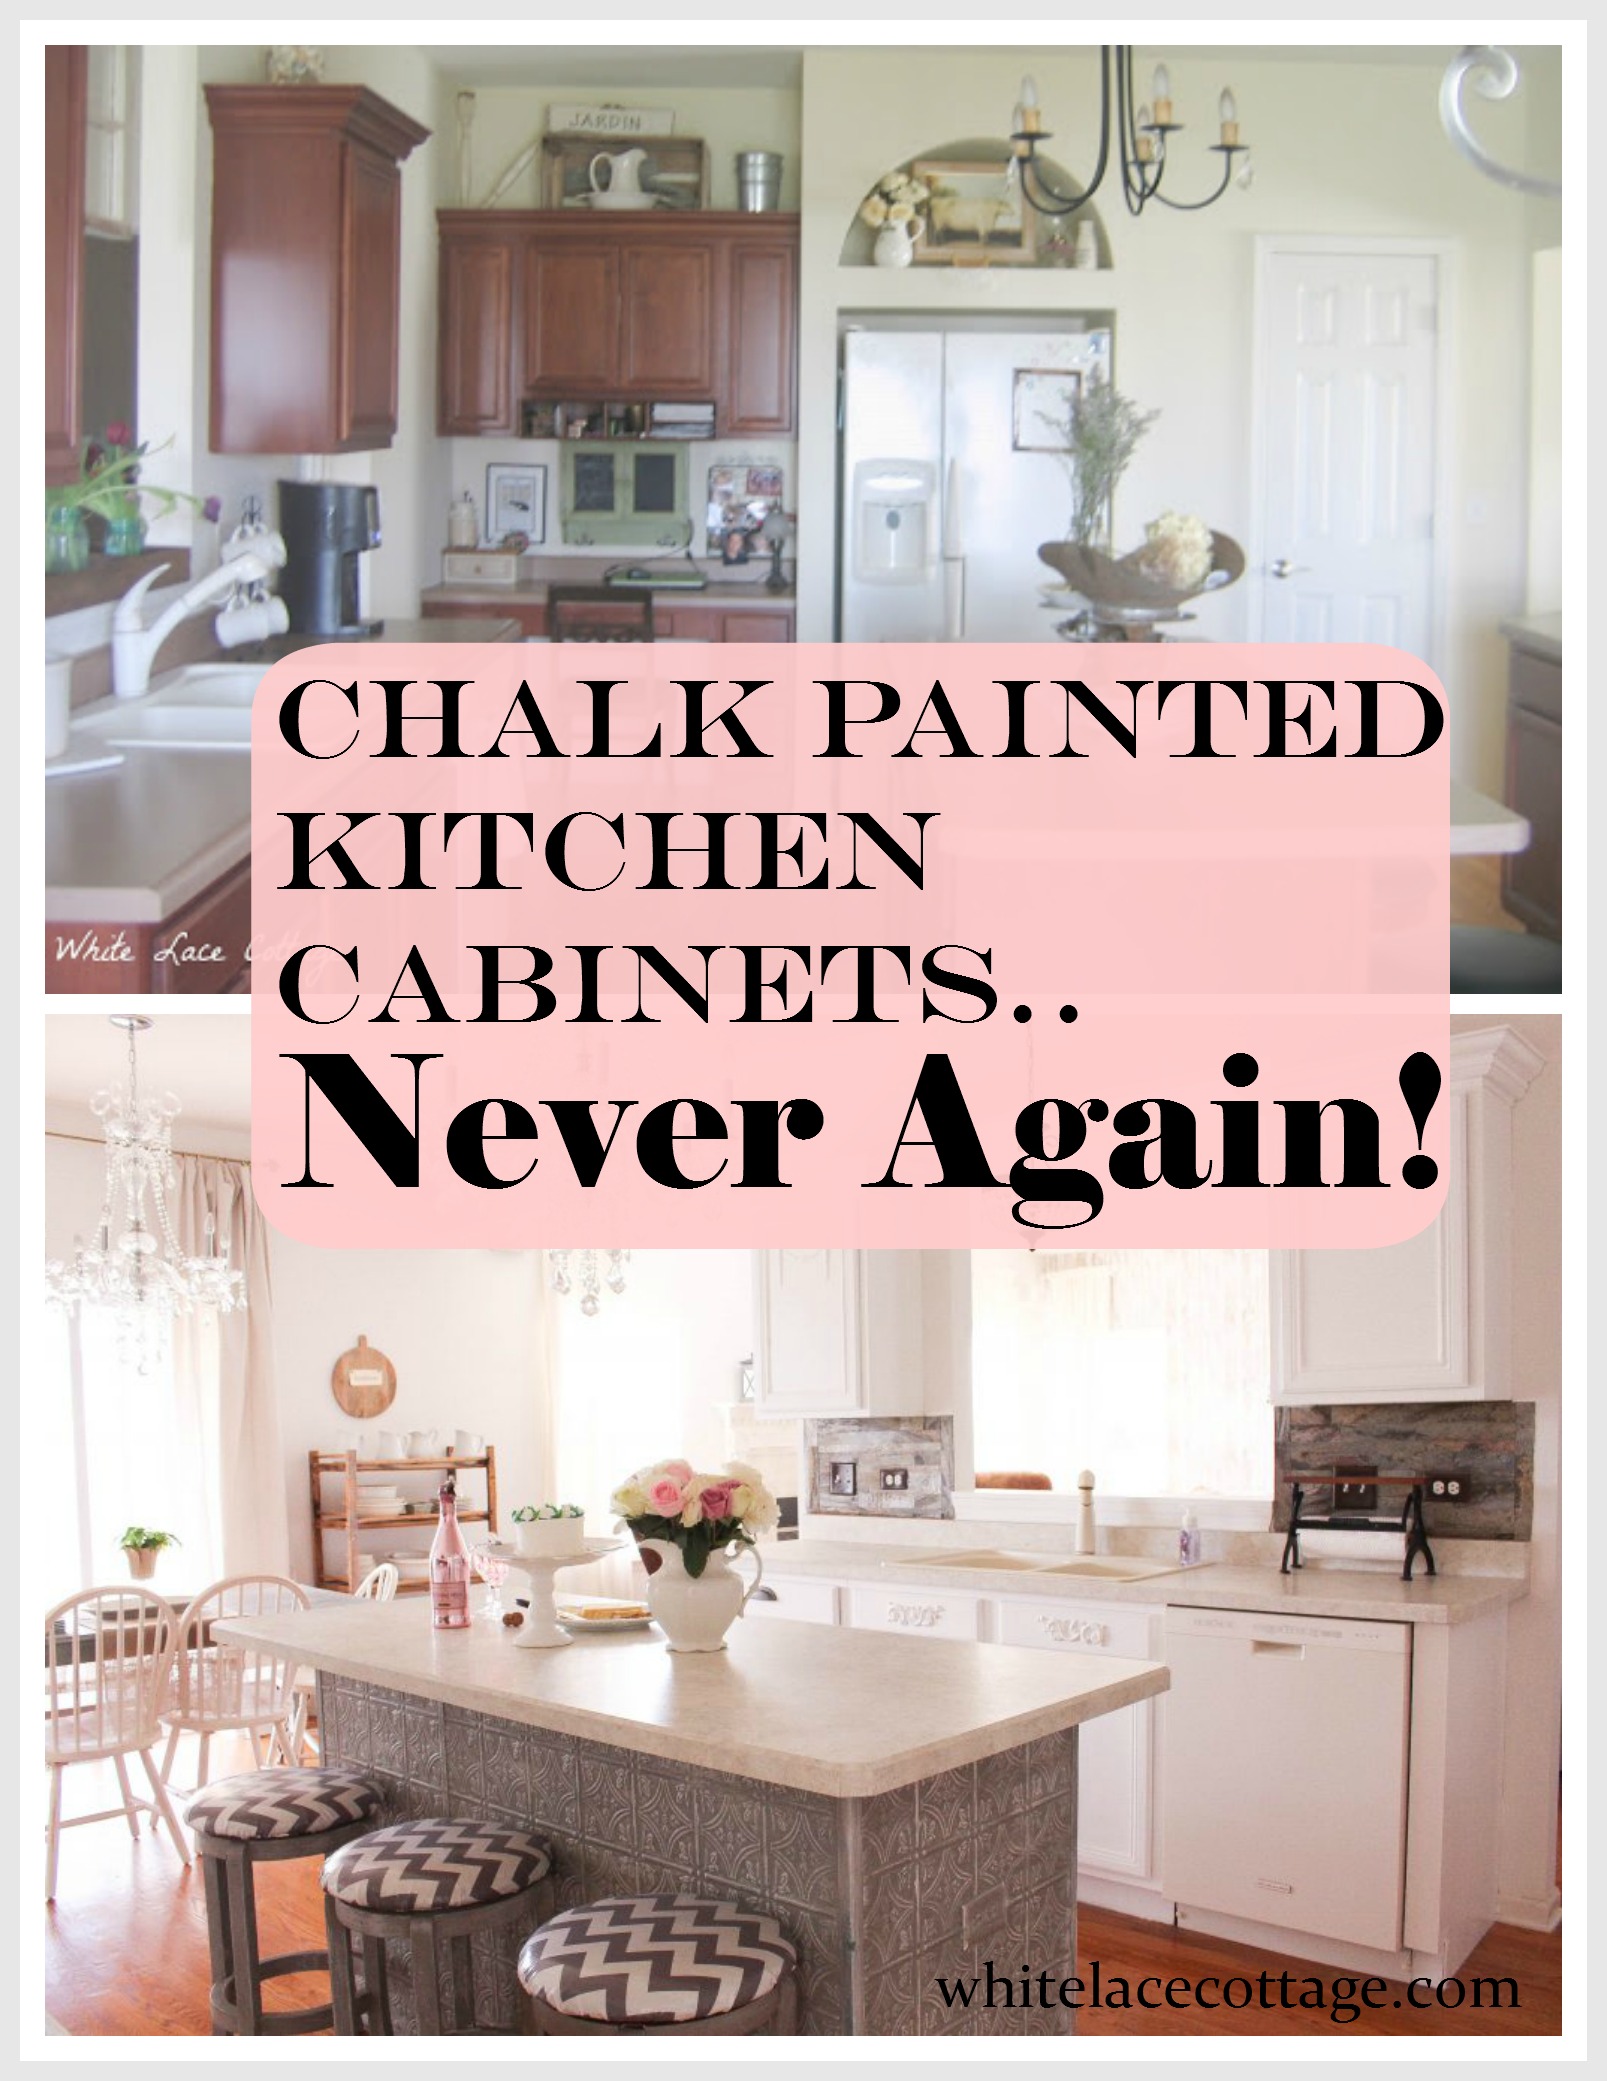
Chalk Painted Kitchen Cabinets Never Again Anne P Makeup And More

Kitchen Cabinet Makeover Annie Sloan Chalk Paint Kitchen Island Makeover Chalk Paint Kitchen Cabinets Kitchen Cabinets Makeover
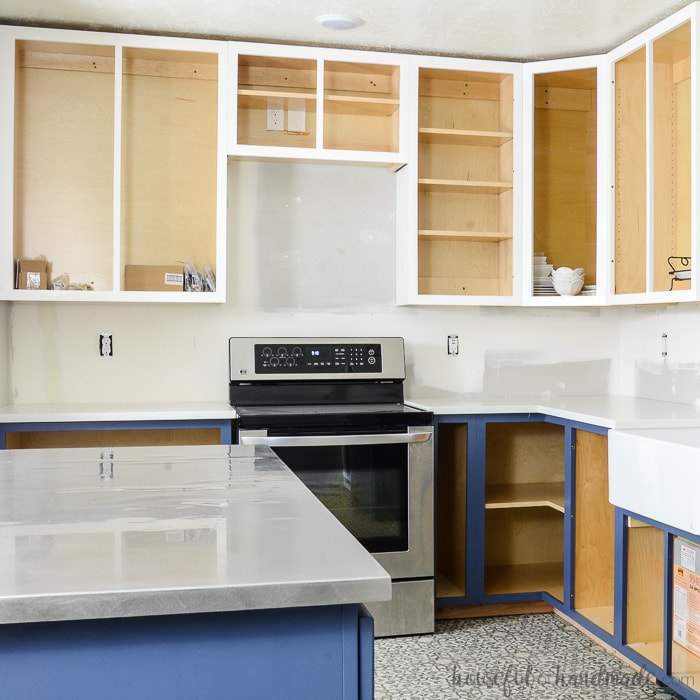
How To Paint Unfinished Cabinets Budget Kitchen Remodel Week 5 Houseful Of Handmade

Painting Your Kitchen Cabinets What I Would Do Differently 2 Little Supeheroes

How To Paint Cabinets The Right Way The Flooring Girl
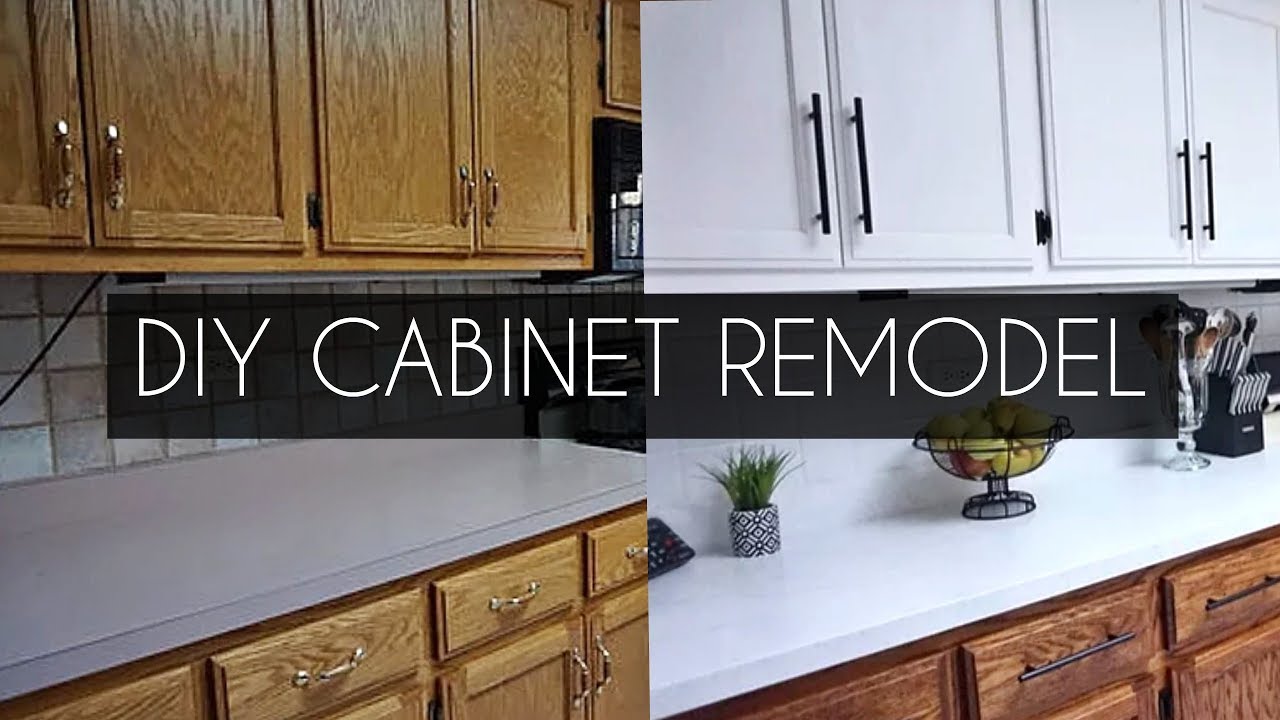
Diy How To Paint Cabinets Without Sanding Youtube
My Painted Cabinets Two Years Later The Good The Bad The Ugly Lovely Etc

Annie Sloan Chalk Painted Kitchen Cabinets With Floor Lacquer A Chalk Paint Kitchen Cabinets Annie Sloan Chalk Paint Kitchen Cabinets Painting Kitchen Cabinets

Artisan Enhancements Clear Finish For Sealing Kitchen Cabinetry Artisan Enhancements
Https Encrypted Tbn0 Gstatic Com Images Q Tbn 3aand9gcsrtjyugmjk1jwu00wzfa3tzvxc4oj5pj2k96pluli Usqp Cau
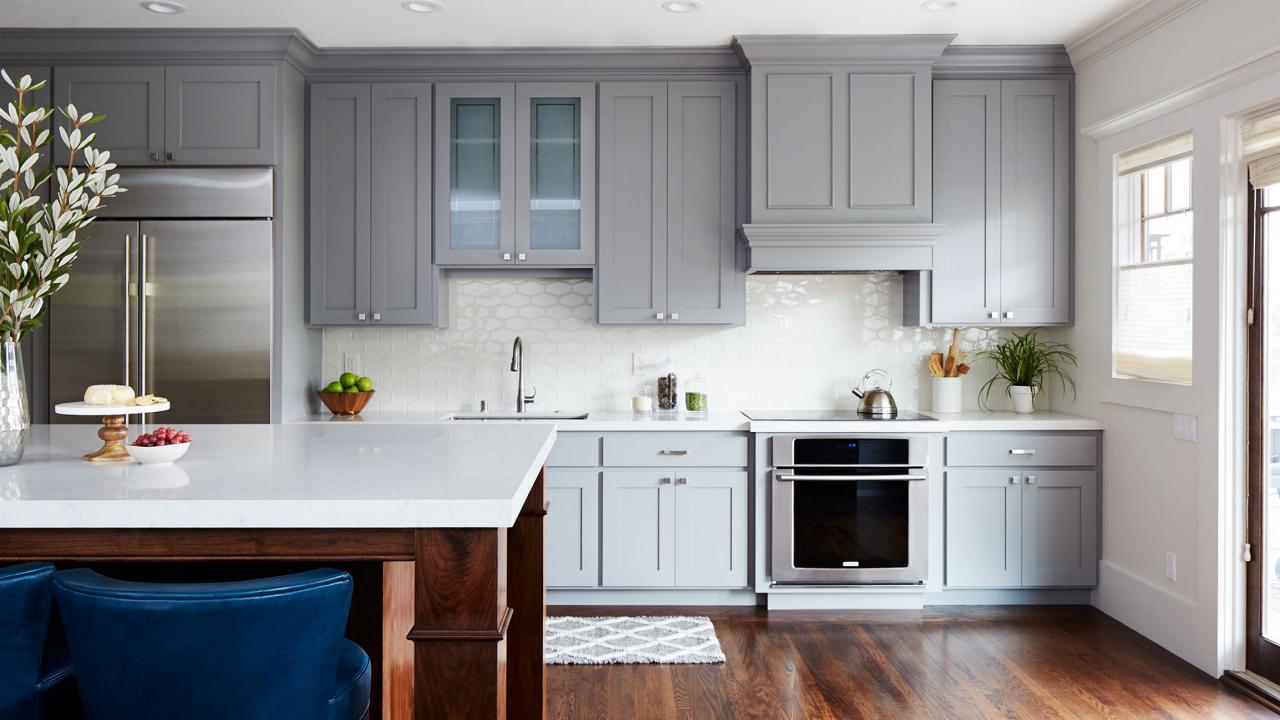
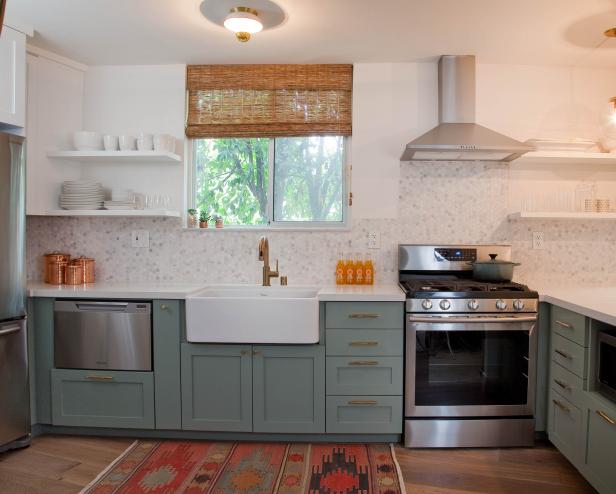
Painting Kitchen Cabinets Simple Steps And Expert Advice Hgtv

Clear Finish For Sealing Kitchen Cabinetry Kitchen Cabinetry Kitchen Painting Kitchen Cabinets
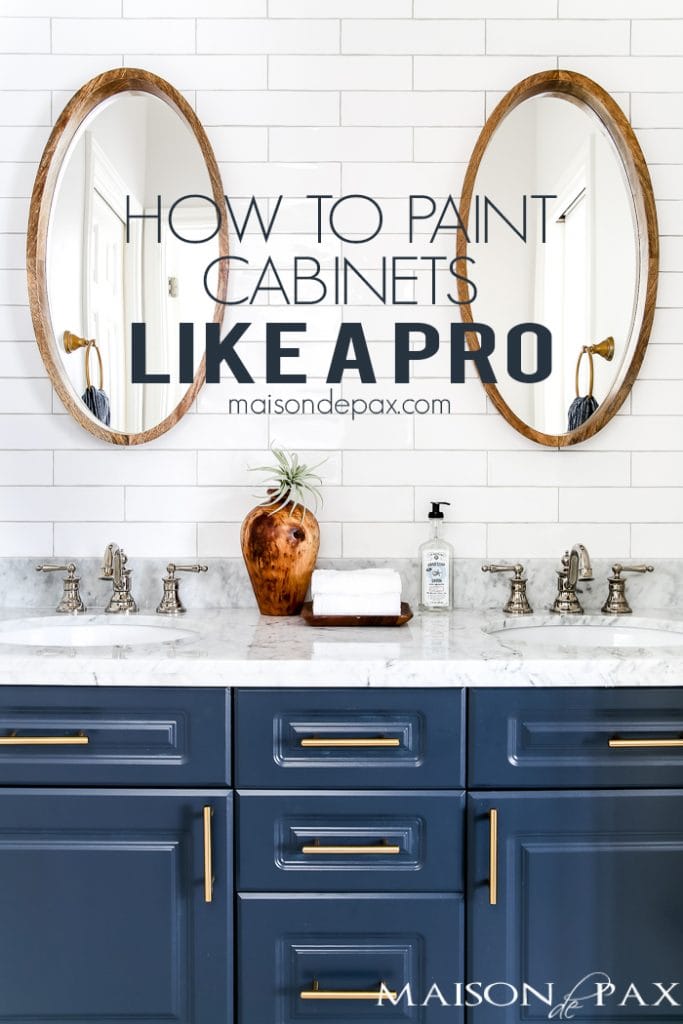
How To Paint Cabinets To Last Painting A Bathroom Vanity Maison De Pax

Using Chalk Paint To Refinish Kitchen Cabinets Wilker Do S
My Chalk Painted Cabinets 4 Years Later How Did They Do Artsy Chicks Rule
Behr Pro

Using Chalk Paint To Refinish Kitchen Cabinets 1 Part Plaster Of Paris To 3 Parts La Chalk Paint Kitchen Cabinets Chalk Paint Kitchen Refinish Kitchen Cabinets

Imprimador Y Sellador Para Cocina Bano Y Molduras Bloqueador De Manchas Interior Behr

How To Paint Cabinets The Right Way The Flooring Girl
How To Paint Your Kitchen Cabinets In 5 Easy Steps
Tips For Painting Oak Cabinets Dengarden
How To Paint Oak Cabinets And Hide The Grain Step By Step Tutorial

Chalk Painted Kitchen Cabinets 2 Years Later Our Storied Home
What S The Best Kitchen Cabinet Varnish For Your Home
Benjamin Moore Advance Cabinet Paint Review Diy Painting Tips
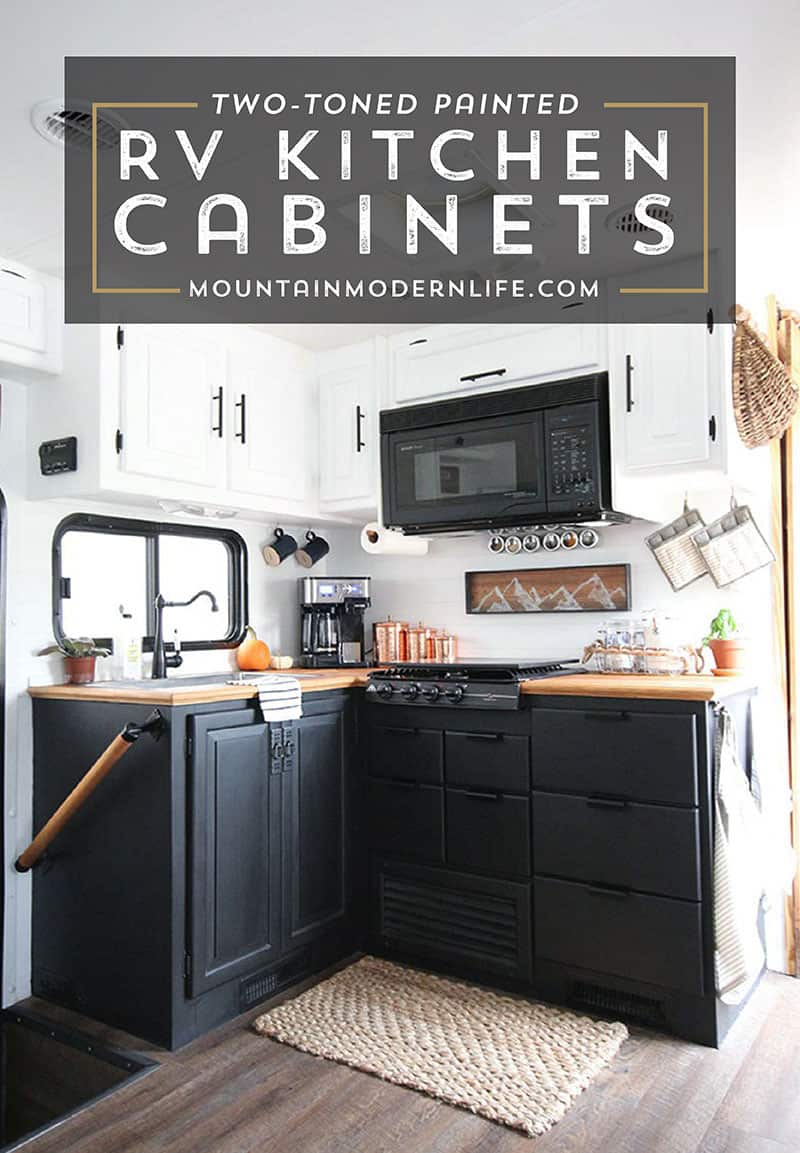
How To Paint Your Rv Kitchen Cabinets Mountainmodernlife Com
How To Repair And Paint Mobile Home Cabinets The Right Way

Tips For Painting Cabinets From A Pro Painting Cabinets Painting Kitchen Cabinets White Kitchen Cabinet Remodel

How To Glaze Kitchen Cabinets Bob Vila
Painting Cabinets With Chalk Paint Pros Cons A Beautiful Mess

Using Chalk Paint To Refinish Kitchen Cabinets Wilker Do S
How To Paint Formica Countertops And Cabinets Bob Vila

Which Primer Is Best For Kitchen Cabinets Choose From The Top 6

Mistakes You Make Painting Cabinets Diy Painted Kitchen Cabinets

Using Chalk Paint To Refinish Kitchen Cabinets Wilker Do S
Https Encrypted Tbn0 Gstatic Com Images Q Tbn 3aand9gcszf2ycst9sxl88rrzu7grjym2tsnj0uisc6iqwsz5v Xi5hpa6 Usqp Cau
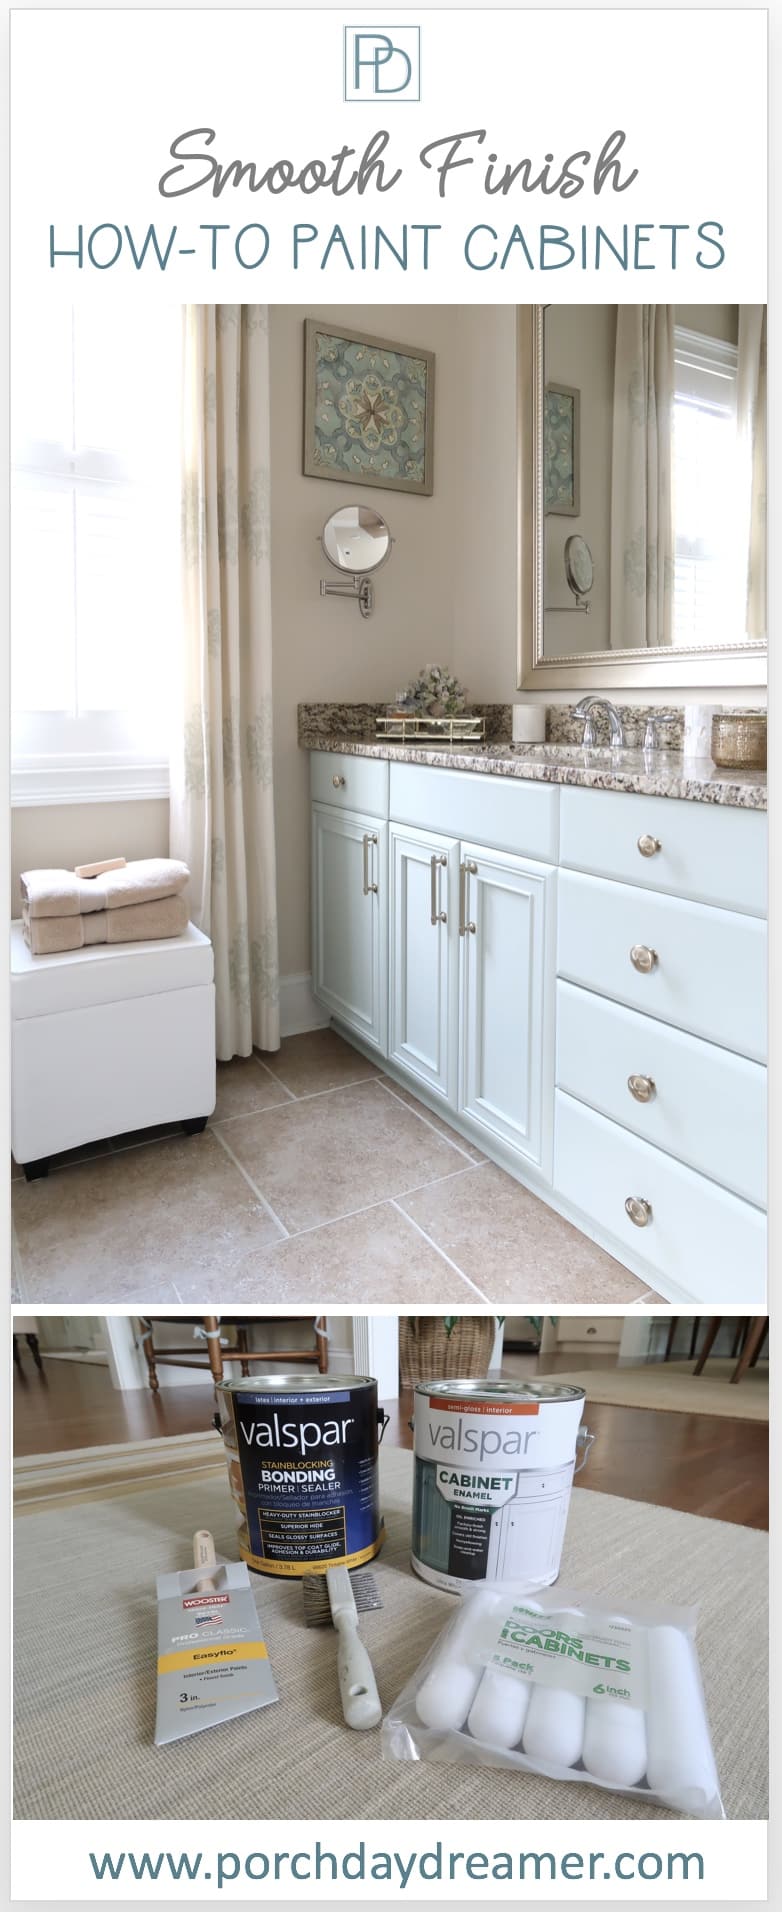
How To Paint Cabinets And Get A Smooth Finish Porch Daydreamer
How To Paint Oak Cabinets And Hide The Grain Step By Step Tutorial
Painting Cabinets With Chalk Paint Pros Cons A Beautiful Mess

Expert Tips On Painting Your Kitchen Cabinets

Mistakes You Make Painting Cabinets Diy Painted Kitchen Cabinets

Chalk Painted Kitchen Cabinets 2 Years Later Our Storied Home
How To Restore Cabinets Bob Vila S Blogs
/GettyImages-944581626-a6b5d4fb0b374a3c87a6d7746844eb23.jpg)
The Best Type Of Paint For Kitchen Cabinets
Painting Cabinets With Chalk Paint Pros Cons A Beautiful Mess
Zinsser 60004 1 Qt Clear Water Sealer Size 1 Quart Other
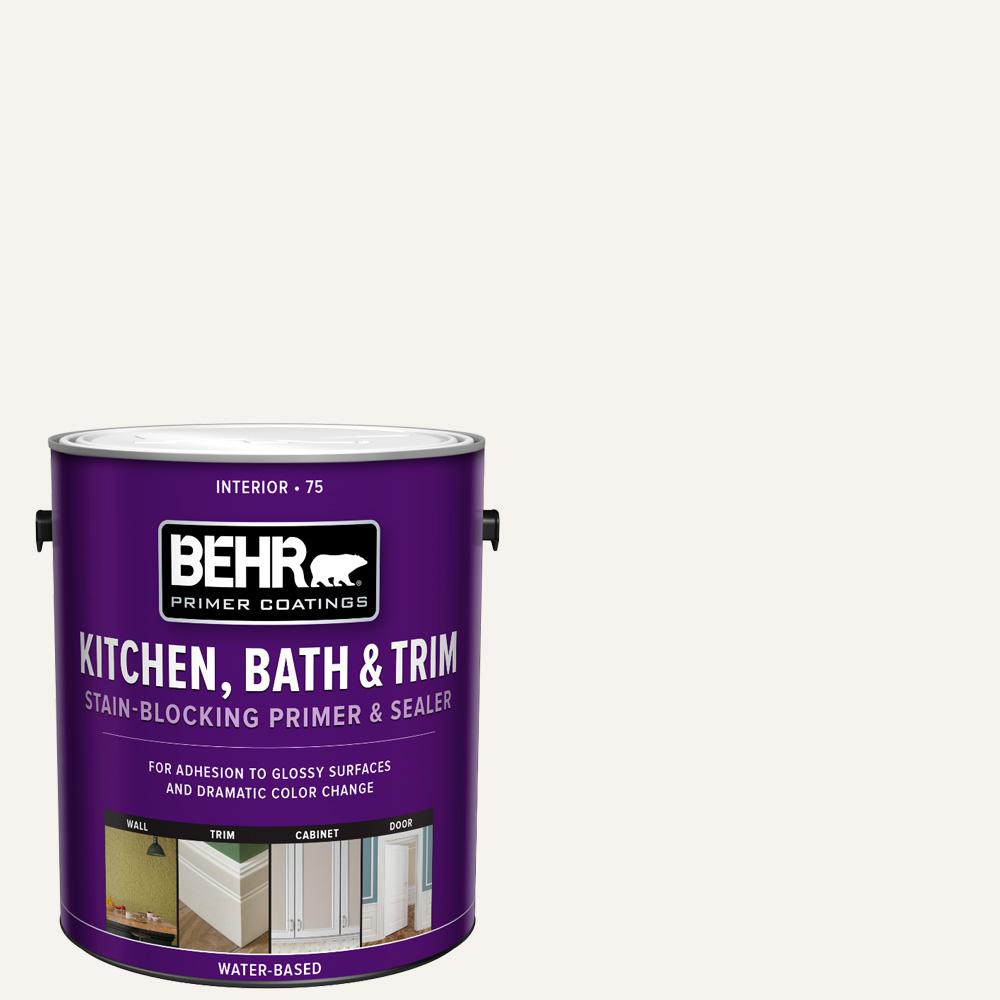
Behr 1 Gal White Acrylic Interior Kitchen Bath And Trim Stain Blocking Primer And Sealer 07501 The Home Depot
Painting Oak Cabinets White An Amazing Transformation Lovely Etc

Sanding Sealing Painting Oak Cabinets Maple Kitchen Cabinets Kitchen Remodel Painting Oak Cabinets

How To Paint Cabinets The Right Way The Flooring Girl

Painting Cabinets With Chalk Paint Pros Cons A Beautiful Mess
How To Paint Old Kitchen Cabinets How Tos Diy

Interior Semi Gloss Cabinet Trim Enamel Paint Behr
Painting Cabinets With Chalk Paint Pros Cons A Beautiful Mess

4 Best Primers For Kitchen Cabinets Number 1 Is Guaranteed To Work

Tips Tricks For Painting Oak Cabinets Evolution Of Style
How To Paint Kitchen Cabinets How Tos Diy
Step By Step Guide How To Paint Kitchen Cabinets H2obungalow

Kitchen Cabinet Makeover Annie Sloan Chalk Paint Chalk Paint Kitchen Cabinets Chalk Paint Kitchen Kitchen Cabinets Makeover
Applying Polyurethane To Kithcen Cabinets Kitchen Cabinet Depot
How To Paint Old Kitchen Cabinets How Tos Diy
Https Encrypted Tbn0 Gstatic Com Images Q Tbn 3aand9gcsym1w Jaegls Hubrffhwe1figykbp46itqqu8hfnyrkdejugw Usqp Cau

Expert Tips On Painting Your Kitchen Cabinets
Amy Howard Kitchen Makeover How To Paint And Distress Kitchen Cabinets Youtube
What Color Should I Paint My Kitchen Cabinets Textbook Painting

Pin On Painting Kitchen Cabinets Trends

My Painted Kitchen Cabinets Five Years Later Domestic Imperfection
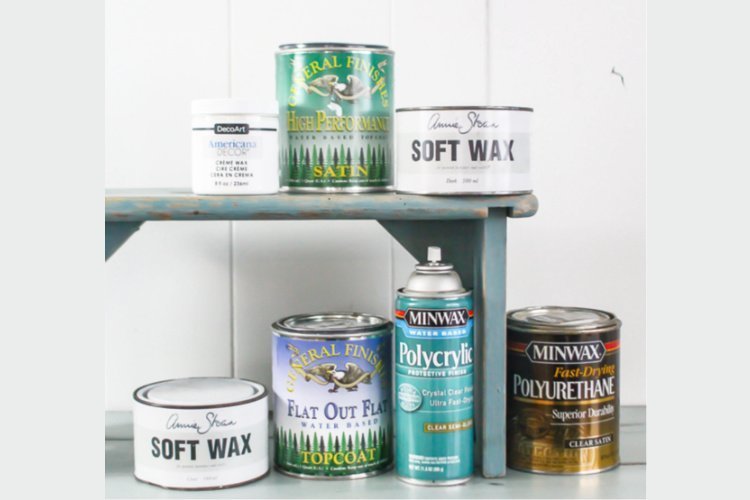
The Best And Worst Sealers For Painted Furniture Lovely Etc
How To Paint Kitchen Cabinets How Tos Diy
The Most Durable Painted Kitchen Cabinet Finish 13 Pros Weigh In Laurel Home
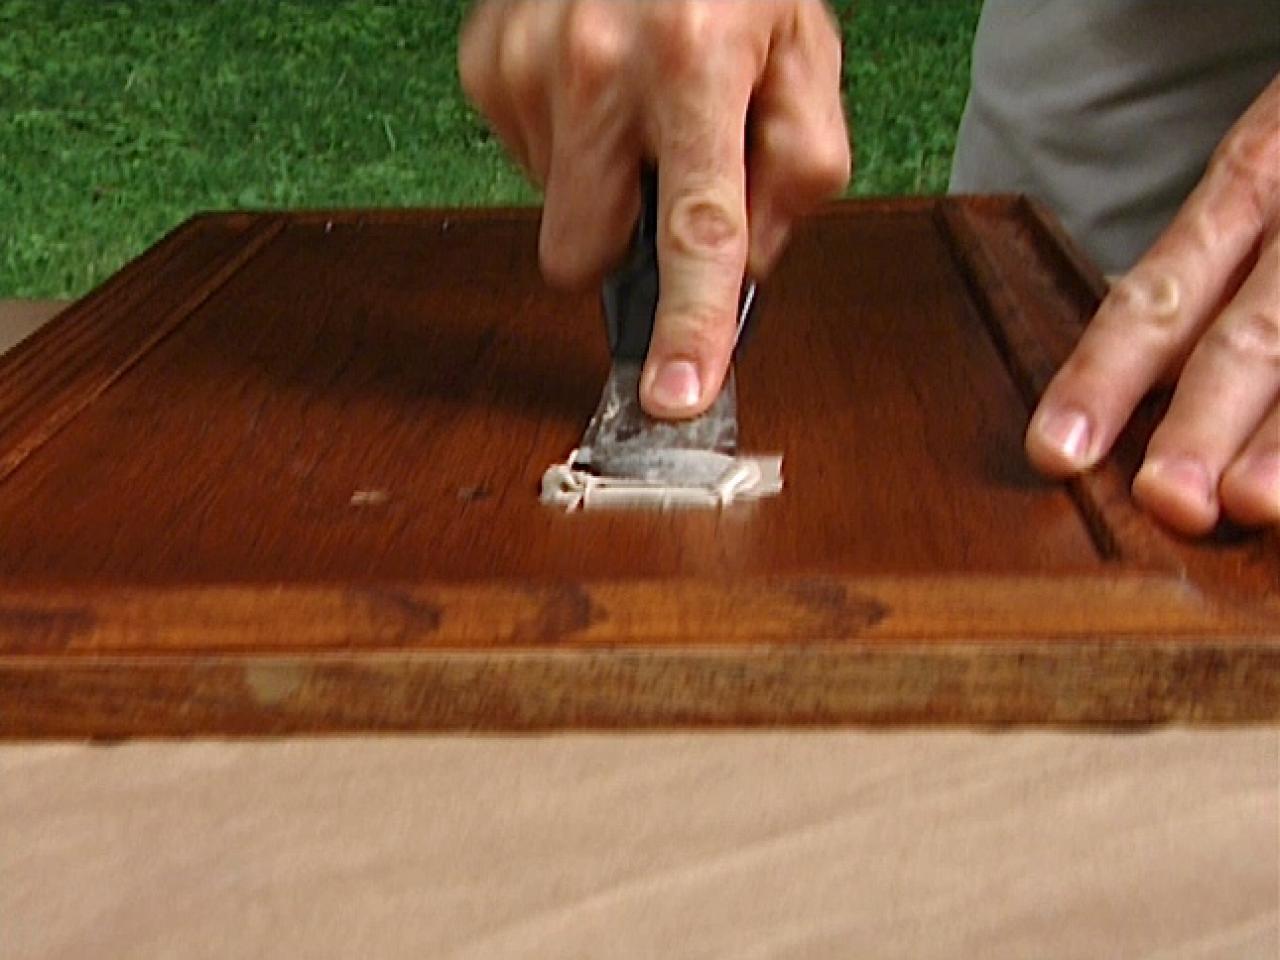
Distressed And Antiqued Kitchen Cabinets Hgtv
Painting Cabinets With Chalk Paint Pros Cons A Beautiful Mess
How To Paint Your Kitchen Cabinets In 5 Easy Steps
The Best Cabinet Paint You Need To Know About Porch Daydreamer

Why I Repainted My Chalk Painted Cabinets Sincerely Sara D Home Decor Diy Projects
My Painted Kitchen Cabinets Five Years Later Domestic Imperfection

Annie Sloan Chalk Paint Waxed Kitchen Cabinets 6 Month Review Shabby Grace
Staining And Sealing Wood Cabinets Cabinet Now
25 Tips For Painting Kitchen Cabinets Diy Network Blog Made Remade Diy
How To Paint Kitchen Cabinets The Right Way Confessions Of A Serial Do It Yourselfer

Kitchen Cabinets Painted Diy And Painted Kitchen Cabinets Sealer Kitchen Remodel Kitchen Cabinets Kitchen Design
Beautiful Kitchen Cabinet Painting Transformation In Avon Textbook Painting

A Review Of My Milk Paint Cabinets 6 Month Follow Up
/cdn.vox-cdn.com/uploads/chorus_image/image/66495771/RTB_0159006.8.jpg)
Painting Kitchen Cabinets This Old House